Thursday, 29 September 2011

Creating an object with boolean,align, insert and extrude.

I was going to show this initialy before I got lost with normals.


I am going to make a object for my dreadnought using boolean, aling and extrude. Just a demostratio of my understanding of these techniques.

I start of with a cone and scale it.
 I create a box clone it and then rotate it.
 Having selected the two  boxes i aling them to the cone y,z center with center then apply then x minimoum with minimoum.
 I thought the fins were to big so I scaled them.

 Then I clone the boxes and shrink them. Then i allign them as before but with x maximum to maximum.
  Then I rotate them 45 degrees. I then make the cone into a poly in polygon select the top then with incert I make the surface smaller to be extruded.

 Finaly I combine them by boolean union.
And finaly an up to date image of the progress on the Dread.

Normals.

 The upper torso is almost complete, some rivets and decorations are needed but those can wait.
Today my work on the dread has been slowed down. I began  creating the point where the dread legs join the torso. The shape consists of 4 curcle and 5 modified Rectangles (see below).  I first made the right side then cloned and rotated, then unified them with boolean. When I selected all the polygons in order to extract them, I noticed that some where darker, I thought it might be a shadow from the dread torso next to it.
When I tryed to extract; the left side extracted towards the front while the right side towards the back. remembering what Steve said about fasing during the second lecture, I realized I had the "normals" of the cloned and rotated group fasing backwards. It took me more than an hour though to find the trick, I knew I wanted to flip the normals but could not find how. You see the modifier list has "edit normals " and plain "normals" in edit normals you can alter the lenght of the normals and their apperance and there are some methods in selecting them.
In "normals" you can flip them or unify them. So I selected the normals facing the wrong way and fliped them.


Then I remade to editable poly
 And finaly it extrudes in one direction.
I  belive this will help me in the future.

*I am aware that I could have fliped the objects to avoid needind to flip the normals, but I saw it as an excersise to understand a few things about normals.

*Also discovered the use of backfasing. When ignore backfacing is selected you can select a group as normal but the objects in the grop that are faxing away from the view you are in are not selected.

I created a spere, convert to poly, turned ignore backfacing on. And selected a bunch of polygons.


 With ignore backfasing off you would expext to select the back parts too, but as you see below only the polygons in my selection and only the ones fasing toward my view were selected.


Wednesday, 28 September 2011

Hoses turning into cable.

This morning I practiced and used the hose object  (in extended primitives).

My dreadnought has a series of cables feeding into the sarcophagus from the shoulders.
 After looking at this helpful tutorial and a bit of trial I managed to make one side for the dread.

Unwanted window in the midle of the screen shot, sorry. This is the hose at the back, it is created like a cylinder. You can make your hose round,square or D shaped.
 In order to place the hose in the right position you need to create 2 objects to attach too. most common is cylinders and that is what I will use cause it is on the dread too. So bellow I have made the points, I did one side selected the 8 cylinders and then cloned them, moved them to the other side and one by one moved them around a bit for realism.
Also at this point the options of freeze and hide are realy usefull alowing me to see between the 2 shapes (sarcophagus and  shoulder).

Later on I repeat this for the left side and I hide everything else.
 So I create a small hose. In the editor I then select bound to pivots and click on pich top object and select my sphere and then I do the same for bottom object. Initialy it looks like a crazy masive hose so i set the tention on top and bottom to 1. Now to give the cable a realistic curve I increase the tention slowly until I get the hose shown bellow.

Some of the cables are lean some of them are rigged.  The top one of the model is rigged so i will replicate it.
I click on flex section enable to make the surfase rigged. The number of cycles is the number of bumbs you want your hose to have and the diameter the height of the bumps. The Start and ends allows you to adjust where the bumps start and where they end depending on which cylinder you selected as top or bottom. I adjust it so I have no bumbs inserting the cylinder. 
 I repeate the prosess with copied hoses and edit diameter for realism.

 One side of the dread with cables.


Last very important thing: The hose allings with the pivot point of the objects selected (cylinders in my case).
This may not always have the desired result, I needed some times to rotateand move the pivot points of the cylinders to make it look realistic.

Week 2 lecture and practical aftermath.

In week 2 I was introduced to boolean, align, creating deleted polygons, extruding 2d objects and grouping.
I have been using boolean and extrude 2d shapes for my dreadnought.

Practicing the methods on the Dreadnought  made week 2 tutorial realy easy.

I discovered a second way of connecting vertex too.  In Vertex selecting the two vertexes and clicking on connect.

I cant seem to use boolean when in groups. I will come back to this.

Now about the project: Steve had no problem of me making my animation aboutthe universe of 40k but at the same time he advised me; that making chaos marines walking and moving would be quite hard cause of the joints. So the chaos marines will be replayced by necrons. Necrons look like the metalic skeletons (like in terminator the movie). I am still happy with the alteration necrons have glowing green eyes that will look menacing in a dark rusty hangar.  So at some point this week I will alter my mood board.

Necron destroyer

Necron Warrior
Now I have had some great progress on my first model the dreadnought.
Here are some pictures


The was one point we the chest piece was open troubleing me. I set the snap to vertex and moved one vertex on to the other. Weld did not seem to work, but for now I think the shape is fine I will see if i have problems with it when adding texture.


When selecting the spot it stil has 2 vertexes.
I am going to continue today the dreadnought and maybe start the necron model.
I need to see how I can model cable and twist it.

Tuesday, 27 September 2011

Working on my first model.

Today I began working on my first model, the blood angel Dreadnought.


More details later.

Friday, 23 September 2011

House exersize done.

This is the house I made.


It was made from one box.
First I went to customize > units setup and set it to metric.
Then i created the box and in the editor set WxLxH 20x30x12
then I increased the segments to 7,7,3 I should have probably added more but I tried to do them with a minimal number of  Segments. Also it could be done with boolean in the future.
Then i turned into poly mesh. in polygon selection I selected the 2 polygons as my fron windows and then extruded  them in place. Then I moved then inwards. hapened for the side windows but also in vertex i made the side window wider. 
I then selected the roof and rotated it to give it an angle. 
Still in polygon selection used bevel to give the chimney a shape with expand also.

finaly after watching this video ( http://www.youtube.com/watch?v=aEV9dsV7TGA ) making use of boolean I made a hole in the chimney, whish could also have been done with extrude but i was curious to use boolean.

Next up the castle.

Thursday, 22 September 2011

Future steps.

With the idea and mood board done, I am midway of creating a storyboard.
I actualy have miniatures of the warhammer 40k game so i am thinking of making a second story board using the miniatures then repositioning and taking the photos in the right angles.
Once that is done, I will finish week 1 exercises view some tutorials online (http://www.youtube.com/3dsmaxhowtos).
I also need to start creating my models so i will start with the weapons.
 Chainsword,Powersword and bolter.


Mood Board and Title of animation.

Today I created the mood board for my animation.

The title of my animation will be "Taste of Failure" , I hope this cource does not give me the same taste!

The assesment and my idea.

Taken from the module guide:

You are to select a scene from a Star Wars film, TV series, or video game, and produce a 30 second animated sequence based on that scene.

The assignment is in two parts.
Assignment 1 – Weeks 1 – 6
You are to produce a mood board, research board and storyboard. From your storyboard, you are expected to model at least three artefacts which will star in your sequence. You should also show three different specific modelling techniques, ie lathe, chamfer, boolean etc.

Assignment 2 – Weeks 6 – 12
You will now continue to make your trailer incorporating your models and animate them within an environment. You are expected to make use of three animating techniques such as reactor, morphing, fly through, key framing etc.


First I would like to do insted of star wars a scene from a novel from the sci-fi wolrd of Warhammer 40k.The book is called Soul Hunter writen by Aaron Dembski-Bowden published by Black Library, you can find it here: http://www.games-workshop.com/gws/catalog/productDetail.jsp?prodId=prod630014a
On a later post I will do a review of the book and the world of warhammer 40k.

For now the 30 second I want to do are:
{The blood angel dreadnought still twiched as it layed on its back. its claw opened and closed, grinding nothing but air. Talos nodded to the sarcophagus, too pained to point.
"cut that open".
Xarl and Cyrion went to work with their chainswords, carving through the coffin"s surfance,
the tearing teeth offering no respect for the funerary declarations and acid etched glories depicted in Baalian glyphs. With grunts of effort, the two warriors hauled the sarcophagus's
lid away, revealing the pilot within.
Their blades had ruptured the inner coffin. Clear amniotic fluid, blood pinked in patches,
seeped from the pierced box in sloshing trickles.
Talos stepped on the downed dreadnought"s hull,looking down at the limbless, augmented wreck of a human being.
"I am Talos of the Nightlords. Nod if you understand me."
the slain hero nodded, skin tightening in doubtlessly painful spasms as his life support interfeeds failed. Talos smiled at the sight.
" Know this, Blood Angel. Your final mission was a failure. yoour brothers are dead. we will wear their armor in battle against your false Emperor. And know this also,champion of the
IX Leagion. Twice now, the sons of the night Haunter have seen you slain. Greet the afterlife withion the warp knowing you were to weak to triumpoh over us,even once".

"your bones will be made into trophies for our armor. we will feast upon your geneseed. And what ever remains of this glorious walking tomb will be salvaged by our tech-priest to house a champion of our own legion.

He plunged the blade down. its golden lenght stabbed through the casket, impaling the mutilated Imperial hero's open mouth.
"die", Talos finished,"with the taste of your chapter's eternal failure on your tongue".


 A very quick description:
The scene takes place on a massive space ship, so big that  it has areas unknowk to the crew. our scene is in a dark abandon hangar of this ship.The stars of the scene are  4 evil marines and a enemy robot contaignig a cripled warrior hooked on life support systems within the machine. The robot has lost the fight and is now on its back falfuntioning. Two of the warriors open up the sarcofagus and the leader of the unit has a small talk then stabs the cripled enemy marine in the head with his power sword.
Here are some pictures.

This is one of the 4 marines
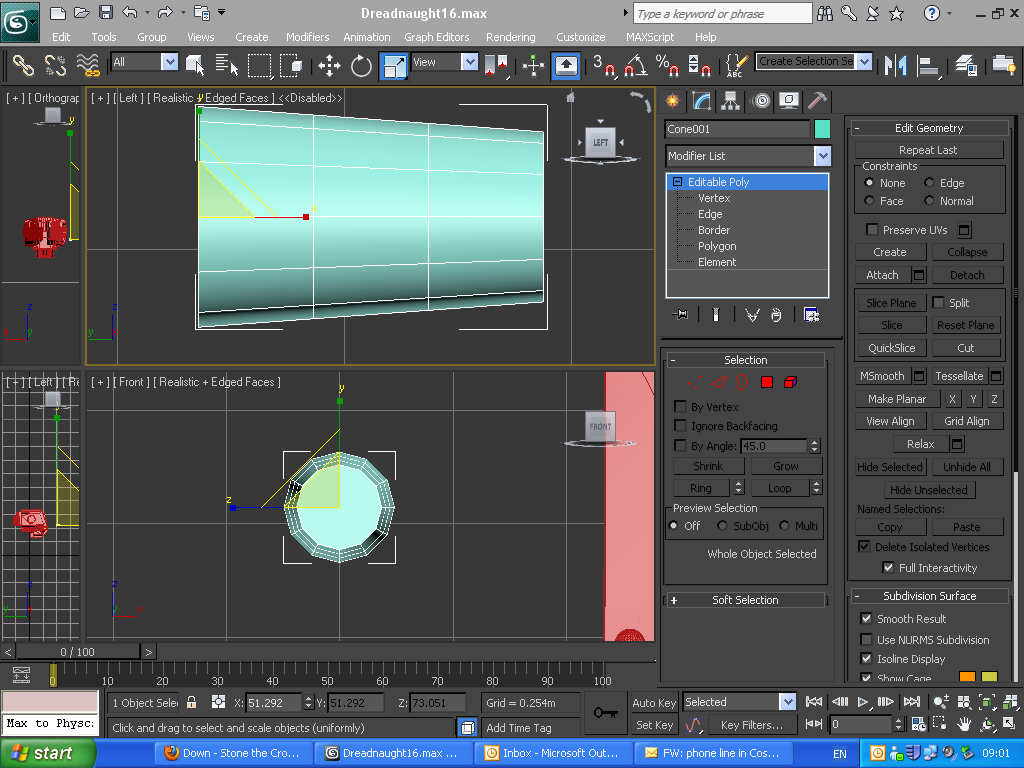
The dreadnaught

The dreadnaught's cripled  pilot. He is placed inside the dreadnaught and is hooked up to the machine.


Next post  the mood board.

Wednesday, 21 September 2011

Welcome

Hello,
My name is Dimitris Kiourtsoglou and I will be using this blog as my Logbook for the module I am attending in Anglia Ruskin University in Cambridge. The modules title is 3D Modeling and Animation taught by Steve Harris (no not the bassist of iron maiden).

During the 12 weeks I am going to try to learn 3D modeling with autodesk 3d max.