Last proper updade was 12 days ago, below I will demonstrate some of the techniques i have learned since then while creating the dreadnought and the Necron destroyer.
Improving "create polygon"
In the picture below you can see a box scaled to one side ad the cut with boolean with a cylinder, this shape will be one of the pieces of the "toe" of the dread.
After the boolean it had no back side. So I when to polygon selected "create" and selected the vertexes.
The result was a weird shape.
I took 2 steps which majorly improved the created polygon.
1. I increaced the number of vertexes. I also activated snap with is set to snap at edges.
2. When creating the polygon I set the snap to vertex so I could acuratly select precisly between many vertexes.
The result below is much better now.
When the "toe" was ready I cloned it and aligned it to the base.
Editing normals.
While creating your object I found it is always good practice to do a fast render just to make sure everything looks alright. The foot I created looks fine.
But when rendered some of the polygons are missing.
Luckly a couple of bosts before I faced the same problem which waws cause because of the normals.
I Deleted 3 of the toes selected the polygons that were darker and modified them them with "normals" and fliping their normals. When I was sure of the result I replicated the tow again.
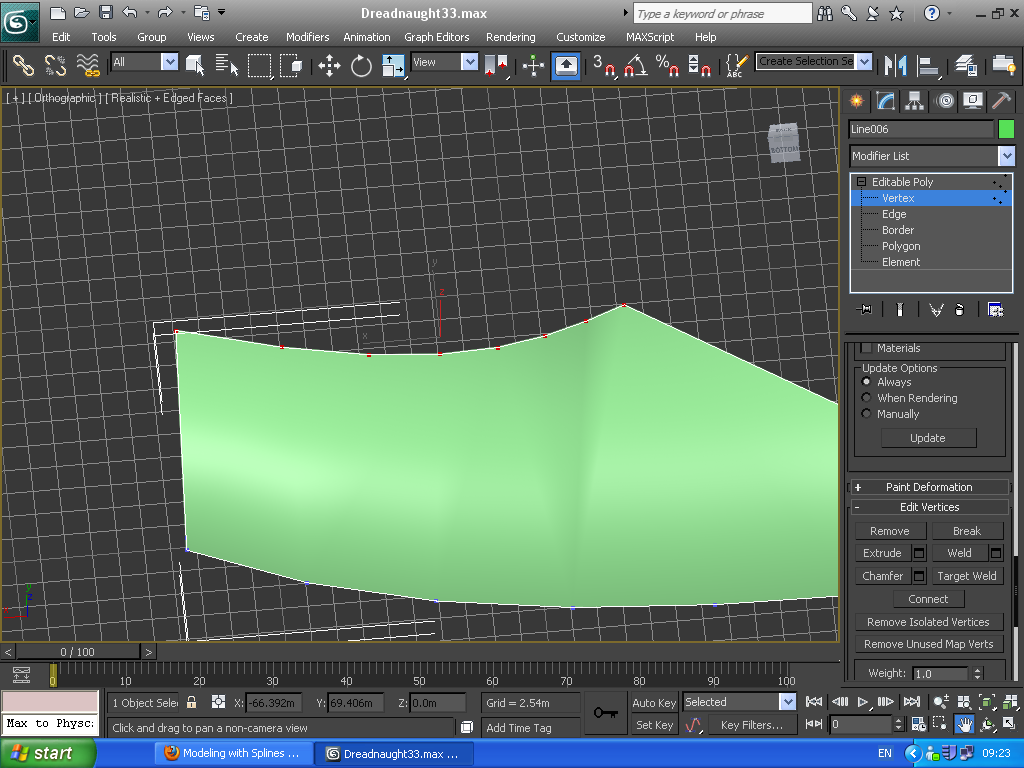
2d shape manypulation, bezial corners and Welding vertexes.
At this point I am creating the claw of the dreadnought. To create the clade like claw I selected "line" in the 2d shapes. I did a tetragon with straight lines. Then I moved into the editor and chose the vertex selection.
I selected one of the vertexes, that touches the edge that I want to curve, and right click and select bezial type of corner.
Now two controlers appear, one for modifing each edge connected to the vertex. I do this twice and move around the vertexes and end up with the result bellow.
When I am happy with the shape I turn it into a 3d object with shell.
I set the values of the inner amount. then i cinvert to editable poly and select the top edges and place them in the center to create the sharp edge.
I repeat for the other side
Now the shape is made but it is not closed and I have vertexes overlaping each other.One way is to select weld and drag and drop but with target weld it can be done much faster.
WWhat target weld does is it allows you to weld groups of vertexes that are within a desired value. I selected all the top vertexes and selected in the target weld window, a control window appearswere you can alter the welding distance in real time before confirming. It will also remember you last selected value.
In the picture below the value is so high that not only is it welding the points on top of eash othe but neighbour vertexes also, so I lower the value.
It also lets you now how many vertexes were selected and how many there are after welding.
Even so bellow was a confirmation of welding.


No comments:
Post a Comment